Voicemail feels old-fashioned right up until the moment you miss a call from a doctor's office, a recruiter, or a client. Then it becomes the only record of what they actually said. Setting up voicemail on Android takes about five minutes, but because every carrier and phone maker handles it slightly differently, plenty of people put it off for months.
This guide walks through how to set up voicemail on Android step by step, explains what visual voicemail adds, compares the best voicemail app options, and shows how to turn saved messages into searchable text so you never have to replay a mumbled phone number three times again.
How to Set Up Carrier Voicemail on Android
Standard voicemail lives on your carrier's servers, not on your phone, which is why setup happens through a phone call rather than an app install. Here is the process that works on nearly every Android device:
- Open the Phone app on your Android device.
- Long-press the 1 key on the dial pad. On most phones this speed-dials your carrier's voicemail service automatically.
- If nothing happens, tap the three-dot menu, go to Settings > Voicemail, and check that a voicemail number is saved. Your carrier's support page lists the number if the field is empty.
- Follow the voice prompts to create a PIN or password. Pick something you will remember, since you will need it to check messages from other phones.
- Record a personal greeting, or select the default greeting if you would rather not.
- Hang up, then call your own number from another phone to confirm the mailbox answers and the greeting plays.
That is the entire core setup. If callers hear the dreaded "this mailbox has not been set up" message, it almost always means the PIN and greeting steps were never completed.
Activating Visual Voicemail
Visual voicemail turns your messages into a scrollable list inside the Phone app, so you can tap any message, play it in any order, and delete without dialing in. On many Android phones, the Google Phone app includes a Voicemail tab that activates visual voicemail automatically once your carrier supports it. Other manufacturers bundle their own dialer, and some carriers push a separate visual voicemail app instead.
To turn it on, open the Phone app, look for a Voicemail tab or a Visual Voicemail option in settings, and follow the activation prompt. If the option is missing, your carrier may not support it on your plan, or it may live inside the carrier's own app.
Carrier Differences to Expect
- Voicemail dial-in numbers and menu options differ between carriers, so the exact prompts you hear will vary.
- Visual voicemail is free on some plans and a paid add-on on others, and prepaid plans sometimes exclude it entirely.
- Voicemail-to-text transcription is often bundled with premium plans or offered as an upgrade rather than included by default.
- Storage limits and message expiration vary, so important voicemails can be deleted automatically after a few weeks if you do not save them.
The Best Voicemail App for Android: Top Options
If the built-in experience is not cutting it, several apps upgrade what voicemail can do:
- Google Phone: The default dialer on Pixel and many other devices includes free visual voicemail and, in supported regions and carriers, on-device transcription. For most people this is the best starting point because it requires nothing extra.
- Carrier voicemail apps: The major US carriers each offer their own voicemail app with deep network integration and optional premium transcription. Quality varies, but they are the official route when visual voicemail is missing from your dialer.
- YouMail: A third-party favorite that adds robocall blocking, smart greetings that address callers by name, and voicemail-to-text across carriers.
- Google Voice: Gives you a separate free number with voicemail transcription built in, which is handy for keeping work calls off your personal line.
Never Re-Listen to a Voicemail Again
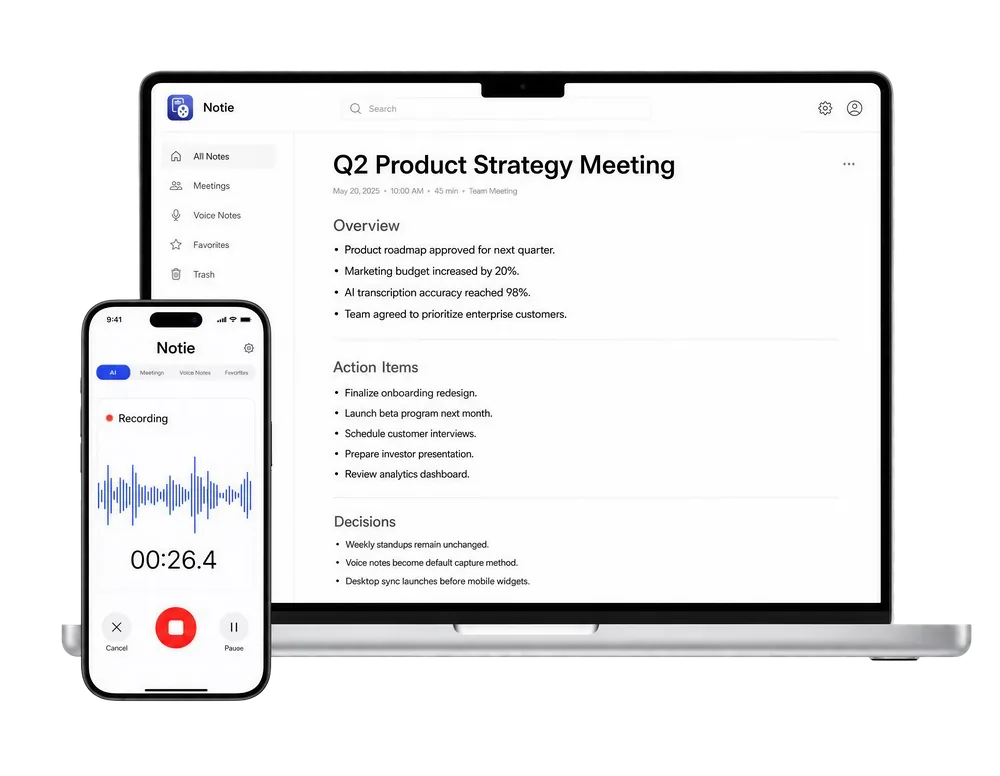
Voicemails, calls, and meetings all share one problem: the details are trapped in audio. Notie transcribes recordings into clean, searchable text and summarizes the key points, so a two-minute voicemail becomes a note you can skim in five seconds. Download Notie for iOS and Android and give your ears a break.
Start for FreeBasic vs. Visual vs. Transcribed Voicemail
Here is how the three tiers of voicemail compare in day-to-day use:
| Voicemail type | How you check it | Best for |
|---|---|---|
| Basic carrier voicemail | Dial in and listen to messages in order | Anyone who rarely gets voicemails and wants zero setup |
| Visual voicemail | Tap messages in a list, play in any order | People who get frequent calls and want faster triage |
| Transcribed voicemail | Read the message as text, listen only if needed | Busy professionals who need to search, skim, and save messages |
Turn Voicemails Into Searchable Text
Transcription is the single biggest quality-of-life upgrade voicemail has ever received. Reading is faster than listening, text is searchable, and a transcribed phone number or address can be copied instead of scribbled down. If your carrier or app does not transcribe messages, you can still do it yourself: save or export the voicemail as an audio file, then run it through a voice to text tool to get a clean transcript in seconds.
Most exported voicemails arrive as MP3 or similar audio files, which an audio to text converter or a dedicated MP3 to text converter handles directly. For a sense of what good output looks like across accents and audio quality, browse these audio to text transcription examples.
For anything longer than a quick voicemail, this is where Notie shines. Import or record audio, and Notie produces a full transcript plus an AI summary with the names, numbers, and action items pulled out for you. A month of client voicemails becomes a searchable archive instead of a pile of recordings, and everything stays organized in one notes app on your phone.
Final Checklist
Set a PIN, record a greeting, and test your mailbox from another phone. Turn on visual voicemail if your plan supports it, pick an app like Google Phone or YouMail if you want more control, and add transcription so messages become text you can actually use. Five minutes of setup now saves you from ever missing the details of an important call again.