Your Mac already contains everything you need to record your voice, from ten-second memos to podcast-grade narration, and even a full screen recording with commentary on top. The trick is knowing which built-in tool fits which job, because Apple spreads the functionality across several different apps instead of putting it in one place.
This guide covers every practical way to record voice on Mac: Voice Memos for speed, QuickTime for flexibility, the Shift+Cmd+5 toolbar when you need to record your MacBook screen with audio, and GarageBand when quality matters. Then we will look at the AI side, turning those recordings into text and summaries instead of files you never replay.
Quick Answer: Match the Tool to the Job
If you just need to capture an idea, open Voice Memos and hit record. If you are using an external microphone or want to choose quality settings, use QuickTime. If your voice needs to accompany what is on screen, use the Shift+Cmd+5 recording toolbar. And if the recording is destined for an audience, a podcast, a voiceover, a course, record it in GarageBand. The sections below walk through each one.
Voice Memos: The Fastest Way to Record Voice on a Mac
Voice Memos is the same app you know from the iPhone, and on a Mac it is the quickest route from thought to recording. Open it, click the record button, and speak; recordings sync across your Apple devices through iCloud, so a memo captured at your desk is on your phone later. It is ideal for reminders, quick dictation, and catching ideas before they evaporate, though it offers little control over input devices or quality settings.
QuickTime Player: Simple Recording with More Control
QuickTime Player is best known for playing video, but it hides a genuinely capable audio recorder.
- Open QuickTime Player from your Applications folder.
- Choose File, then New Audio Recording.
- Click the small arrow next to the record button to pick your microphone and a quality level.
- Press record, speak, then stop and save the file wherever you like.
Because you can select the input device, QuickTime is the better choice whenever an external USB microphone is involved, and it saves standard files that are easy to share or edit.
Record Your MacBook Screen with Audio (Shift+Cmd+5)
When you need narration over what is happening on screen, press Shift+Cmd+5 to open the built-in screen recording toolbar. Choose to capture the entire screen or a selected portion, then open Options and select your microphone so your voice is recorded along with the video. One important caveat: macOS records your mic, not the sound the computer itself is playing. Capturing system audio, the sound from apps, browsers, or videos, requires extra software, typically a loopback audio driver, so plan for that if internal sound matters to your recording. For a deeper walkthrough of the whole workflow, see our guide on how to screen record on a MacBook.
GarageBand: When Quality Matters
For podcasts, voiceovers, or anything an audience will hear, GarageBand is the free step up. You get input monitoring, multiple takes, effects like compression and EQ, and multi-track editing so you can trim mistakes instead of re-recording the whole thing. The learning curve is a bit steeper than the other options, but the jump in polish is worth it for recordings people will actually sit through.
Built-In Recording Options at a Glance
| App | What it records | Best for |
|---|---|---|
| Voice Memos | Microphone audio | Quick notes, ideas, dictation |
| QuickTime Player | Microphone audio or screen video | External mics, interviews, simple captures |
| Shift+Cmd+5 toolbar | Screen video plus your microphone | Tutorials, demos, narrated walkthroughs |
| GarageBand | Multi-track microphone audio | Podcasts, voiceovers, anything polished |
Record, Transcribe, and Summarize in One App
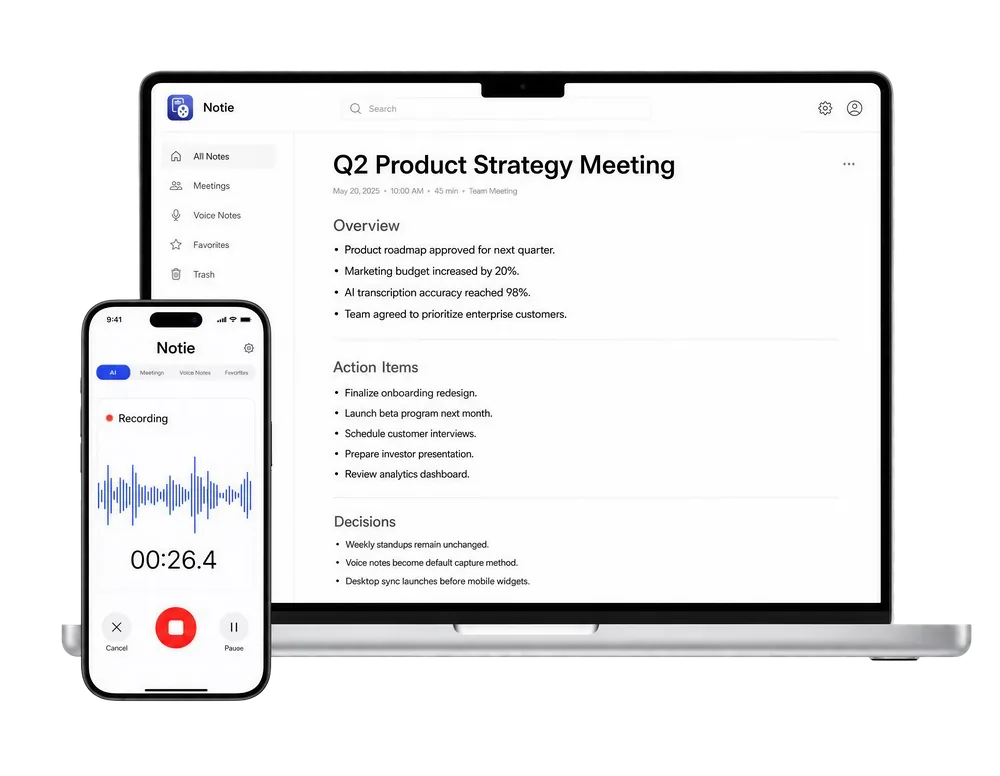
If what you record is mostly meetings, lectures, and interviews, Notie takes the pipeline further than any built-in Mac app. It records on your phone, transcribes the audio with AI, and hands you a shareable summary before you have even renamed the file.
Start for FreeMicrophone Tips for Cleaner Recordings
- Record in a quiet room with soft furnishings; bare walls create echo that no tool fixes later.
- Get the mic close, roughly a hand's width from your mouth, and speak across it rather than into it.
- Use an external USB microphone if you record regularly; even budget models beat the built-in mic.
- Do a ten-second test recording and listen back before committing to the real take.
- Close noisy apps and silence notifications so pings do not land in the middle of your audio.
Managing Formats and File Sizes
Mac recordings typically come out as M4A audio or MOV screen captures, which not every app or colleague handles gracefully. If you recorded a narrated screen video but only need the voice track, a free MP4 to MP3 converter extracts the audio in seconds, shrinking the file dramatically and making it easy to email, archive, or feed into a transcription tool. It is worth doing before uploading anywhere, since audio-only files process faster too.
AI Solutions: Turn Voice Recordings into Text
A recording is a starting point; the words inside it are usually what you actually need. Upload any memo or meeting audio to a free voice to text tool and you get a searchable, editable transcript in minutes instead of listening back in real time and pausing to type.
And when the conversation happens away from your Mac, Notie has it covered. The app records on iOS and Android with background recording, so capture continues while you check email or switch apps, then it transcribes and summarizes everything automatically. Between the built-in Mac tools and an AI note taker like Notie in your pocket, no idea, lecture, or meeting has to go undocumented again.
Final Thoughts
Recording voice on a Mac is less about finding software and more about picking the right built-in tool: Voice Memos for speed, QuickTime for control, Shift+Cmd+5 to record the screen with your narration, and GarageBand for polish. Nail the microphone basics, convert formats when sharing demands it, and let AI turn the audio into text so your recordings become notes you can actually search.