Sooner or later, everyone with a Mac needs to capture what is happening on screen. Maybe you want to record a quick tutorial for a coworker, save a webinar to rewatch later, document a software bug for support, or keep a copy of an important video call. The good news is that your MacBook already ships with everything you need to start recording in seconds, no downloads required.
In this guide, you will learn how to screen record on MacBook using the built-in screenshot toolbar and QuickTime Player, how to capture audio the right way, where your files end up, and what to do with a recording once you have it, from trimming the clip to transcribing every word.
Method 1: The Shift+Command+5 Screenshot Toolbar
On macOS Mojave and every version since, the fastest way to record your screen is the built-in screenshot toolbar. Press Shift+Command+5 and a small control strip appears near the bottom of your display. The three icons on the left take still screenshots, while the two icons next to them handle video: one records the entire screen, the other records a selected portion.
- Press Shift+Command+5 to open the toolbar.
- Choose Record Entire Screen or Record Selected Portion. If you pick the second option, drag the dashed frame around the exact area you want to capture.
- Click Options to set a save location, add a countdown timer, show mouse clicks in the recording, or enable your microphone.
- Click Record to start capturing.
- To stop, click the small Stop button in the menu bar or press Command+Control+Esc.
The Options menu is worth exploring before your first recording. Setting a five-second timer gives you a moment to arrange your windows, and enabling Show Mouse Clicks makes tutorials much easier to follow. Your settings stick between sessions, so future recordings start with a single click.
Full screen or selected portion?
Recording the entire screen is best for presentations and video calls where windows move around. Recording a selected portion keeps file sizes smaller and hides notifications, menu bar clutter, and anything private elsewhere on your display. For tutorials, a portion recording focused on a single window almost always looks cleaner and more professional.
Method 2: QuickTime Player
QuickTime Player has offered screen recording for years, and it is still useful if you prefer working inside a traditional app or you run an older version of macOS. Open QuickTime Player from the Applications folder, then choose File > New Screen Recording. On modern systems this launches the same screenshot toolbar described above; on older versions you get a simple record window with a dropdown arrow for choosing a microphone and toggling mouse-click highlights.
QuickTime is also the better choice when you want to record an iPhone or iPad screen from your Mac. Connect the device with a cable, start a New Movie Recording, and select the device as the camera source. Everything on the phone screen is mirrored and captured in high quality.
How to Record Audio: Microphone vs. System Sound
Enabling your microphone in the Options menu captures narration, which is perfect for tutorials, walkthroughs, and voiceover commentary. There is a catch, though: macOS does not natively record system audio, meaning the sound coming from apps, browser tabs, or a video playing on your screen. The built-in tools only hear what the microphone physically picks up.
To capture system sound directly, you need a virtual audio driver or third-party recording software that routes internal audio into the recording. If you regularly record calls, webinars, or streaming sessions, that one-time setup is worth the effort. For a deeper look at capturing clean sound on a Mac, see our guide on how to record voice on a Mac.
Turn Screen Recordings Into Notes With Notie
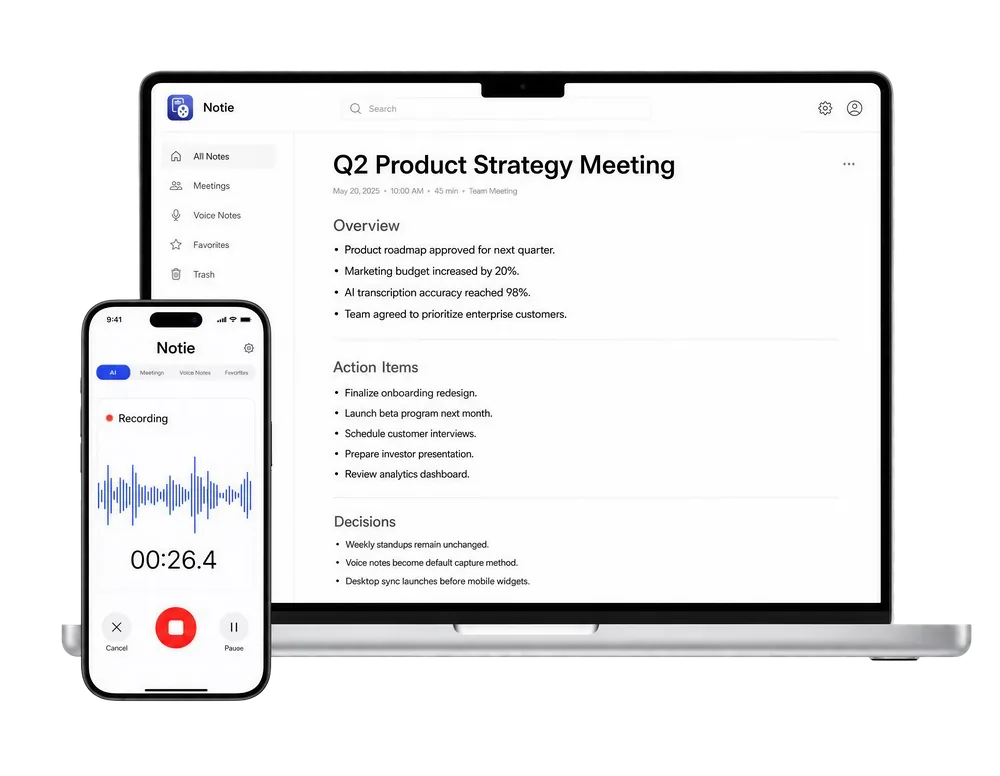
Recording a meeting or lecture is only half the job — someone still has to write down what was said. Notie transcribes your recordings, pulls out key decisions and action items, and turns an hour of video into notes you can search in seconds. Try it free on iOS and Android.
Start for FreeWhere Recordings Save (and How to Trim Them)
By default, screen recordings save to the Desktop as .mov files named with the date and time. You can change the destination in the Options menu to Documents, the Clipboard, or any folder you choose. Right after you stop recording, a floating thumbnail appears in the corner of the screen; click it to preview, trim, or share the clip before the file is even saved.
For quick edits later, open the recording in QuickTime Player and press Command+T to trim away the fumbling at the start and end. If the file is huge, exporting at 1080p instead of full Retina resolution shrinks it dramatically without hurting readability, which matters when you plan to email or upload the clip.
MacBook Screen Recording Keyboard Shortcuts
A handful of keystrokes covers the entire workflow, from starting a capture to trimming the finished file:
| Shortcut | What it does |
|---|---|
| Shift+Command+5 | Open the screenshot and screen recording toolbar |
| Shift+Command+3 | Capture a still screenshot of the whole screen |
| Shift+Command+4 | Capture a screenshot of a selected area |
| Command+Control+Esc | Stop an active screen recording |
| Command+T (in QuickTime) | Trim the start and end of a recording |
What to Do With Your Recording Afterward
A raw .mov file is not very useful sitting on your desktop. If you recorded a meeting, class, or interview, the fastest next step is to transcribe the recording to text so you can search it, quote it, and share it without forcing anyone to watch the whole thing. Long recordings can be condensed with a video summarizer, and if you only need the sound, converting MP4 to MP3 cuts the file size before you archive it.
This is where Notie fits naturally into a Mac workflow. Record your call, lecture, or demo, then let Notie generate a full transcript, an AI summary, and a list of action items automatically. Instead of scrubbing through an hour of footage to find one decision, you simply search or ask for it, and your notes stay synced to your phone wherever you go.
Screen recording on a MacBook takes about ten seconds to learn and saves hours of repeated explanations. Master the Shift+Command+5 toolbar, sort out your audio setup once, and pair your recordings with transcription so nothing you capture ever gets lost.