Every iPhone since iOS 11 has shipped with a full screen recorder, no app required. It captures everything on your display in crisp video, records internal sound, and can add your voice through the microphone for narrated walkthroughs. The catch: Apple hides the button until you add it to Control Center yourself.
This guide walks through the one-time setup, recording with and without your voice, the classic reasons recordings come out silent, and smart ways to share or repurpose the videos afterward.
Step 1: Add the Screen Record Button (One-Time Setup)
- Open Settings and tap Control Center.
- Scroll to More Controls and tap the green + next to Screen Recording.
- It now appears under Included Controls — you can drag to reorder it.
Step 2: Record Your Screen
- Open Control Center: swipe down from the top-right corner (or up from the bottom on iPhones with a Home button).
- Tap the record icon (a dot inside a circle).
- Wait out the 3-second countdown, then do whatever you want to capture.
- To stop, tap the red status indicator at the top of the screen and confirm, or reopen Control Center and tap the record button again.
- The video saves automatically to the Photos app.
How to Record With Your Voice
By default, screen recording captures in-app audio only. To narrate, long-press the record button in Control Center, then tap the Microphone icon so it turns red before starting. The mic setting is sticky — it stays on for future recordings until you turn it off, which is also the number one cause of accidentally silent (or accidentally narrated) videos.
Why Is My Screen Recording Silent?
- Mic was off: long-press the record button and check the microphone toggle.
- Ring/Silent switch: some apps mute their audio when the phone is on silent.
- DRM-protected apps: streaming services block audio and often video capture entirely — that is intentional and cannot be bypassed.
- Call audio: phone and FaceTime calls block internal audio recording by design; the mic can still capture your side and speaker output.
- Low storage: recordings can fail or truncate when your iPhone is nearly full.
Recording a meeting? There's a better way
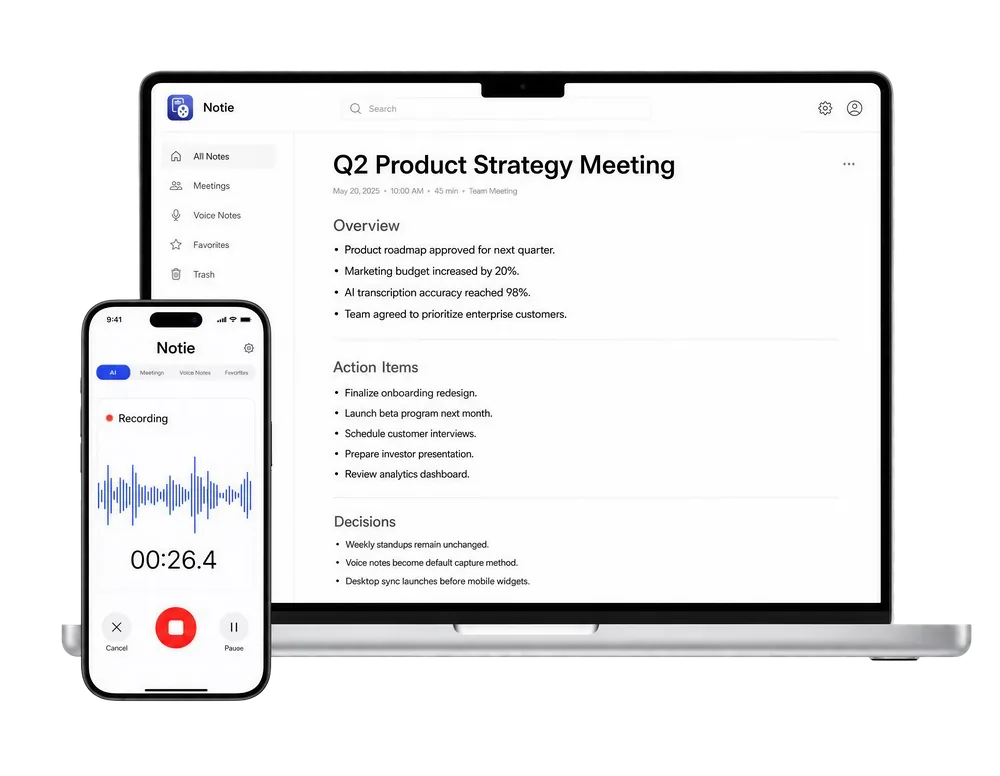
Screen-recording an hour-long call gives you a gigabyte of video you'll never rewatch. Notie records the audio, transcribes it in 100+ languages, and hands you a searchable AI summary with action items instead. Download Notie free and let your notes write themselves.
Start for FreeAfter Recording: Edit, Shrink, and Repurpose
- Trim in Photos: open the video, tap Edit, and drag the timeline handles to cut dead air.
- Compress before sharing: screen recordings are huge; a video compressor makes them email-friendly.
- Extract the words: run tutorials or demos through a video to text tool to create documentation from what you said.
- Pull just the audio: convert clips with an MP4 to MP3 tool when only the narration matters.
- Add captions for social sharing — silent autoplay is the default everywhere.
Screen Recording vs Audio Recording: Choose the Right Capture
Screen recording is perfect for showing what happens on the display: bug reports, app tutorials, gameplay. It is a clumsy tool for capturing what people say — files are massive, and finding one quote means scrubbing video. For lectures, meetings, and interviews, recording audio with live transcription gives you searchable text in real time, and Notie's background recording keeps capturing even while you use other apps. Match the capture method to what you actually need to keep.
Setup takes thirty seconds, recording takes one tap, and everything lands in Photos. Turn the mic on when you want narration, and reach for audio-first tools when the conversation matters more than the screen.