Whether you are recording a class presentation, capturing a bug for IT, or making a quick tutorial for a coworker, your Chromebook already has everything you need. ChromeOS ships with a native Screen Capture tool that records video, captures your microphone, and can even overlay your webcam, no extensions or downloads required.
This guide covers the built-in method step by step, the keyboard shortcut worth memorizing, the best extension options for longer or editable recordings, and what to do with the recording afterward, like turning it into a transcript or a shareable summary.
Method 1: The Built-In Screen Capture Tool
- Press Shift + Ctrl + Show Windows (the key with a rectangle and two lines, in the top row).
- In the toolbar that appears at the bottom, switch from the camera icon to the video camera icon.
- Choose what to record: full screen, a partial region, or a specific window.
- Click the gear icon to turn on your microphone and, on newer ChromeOS versions, your camera for a webcam overlay.
- Click anywhere (or drag a region) to start recording after the three-second countdown.
- Click the red stop button in the shelf when you are done.
You can also open Quick Settings from the clock in the bottom-right corner and select Screen capture to reach the same toolbar without the shortcut.
Where Do Chromebook Screen Recordings Go?
Recordings save to your Downloads folder as WEBM files by default, and a preview pops up in the corner right after you stop. If you need MP4 for editing or sharing, run the file through an online video converter, and if the file is too large to email, a video compressor shrinks it in one step.
Method 2: Chrome Extensions for Longer Recordings
- Loom: records screen plus webcam and instantly generates a shareable link, great for async updates.
- Screencastify: popular in schools, with basic trimming and Google Drive integration.
- Nimbus / Awesome Screenshot: flexible capture options with annotation tools.
- Google Meet recording: if you are capturing a meeting, recording within Meet keeps everything in Drive (requires an eligible workspace plan).
Turn any recording into notes automatically
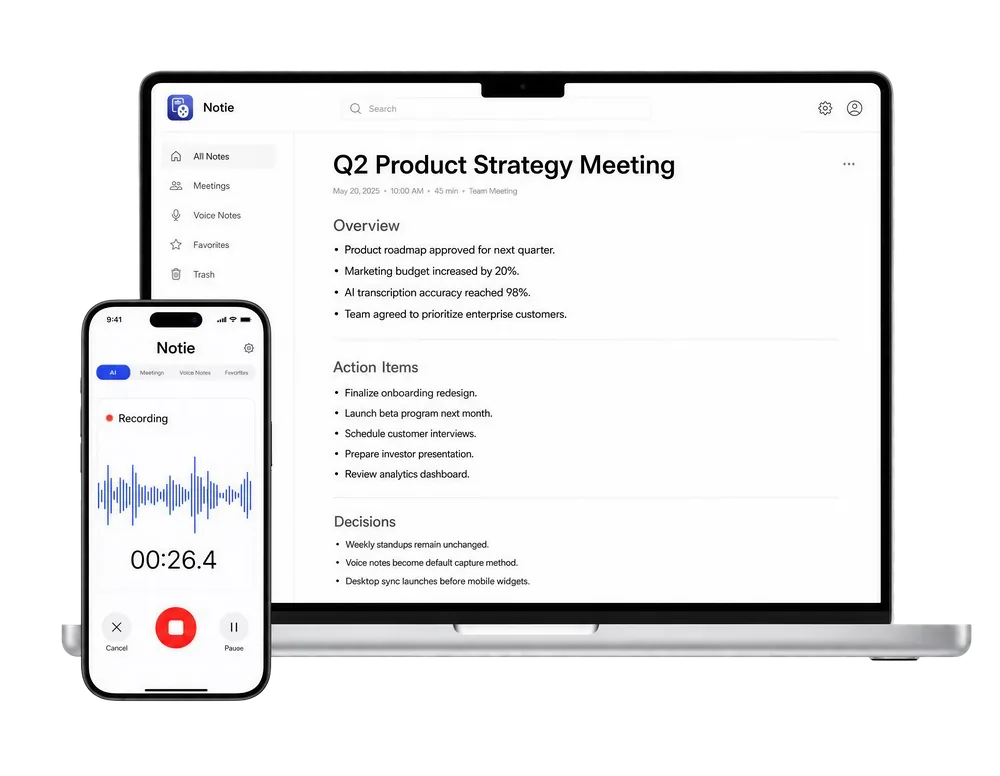
Recording the screen is step one — remembering what was said is the real job. Notie transcribes lectures, meetings, and screen recordings into accurate text in 100+ languages, then summarizes the key points with AI. Record on your Chromebook, capture audio notes with Notie on your phone, and never rewatch a video to find one sentence.
Start for FreeMethod 3: Record System Audio and Yourself
The built-in tool records your microphone but historically not internal system audio, which matters if you are capturing a video call or a video playing on screen. Workarounds include recording in a quiet room with speakers on so the mic picks up the audio, using an extension that captures tab audio, or recording the meeting inside the meeting app itself. For classes and webinars, many students simply record audio separately with live transcription running, so they get text in real time instead of a giant video file.
After You Record: Make the Video Useful
- Trim dead air at the start and end before sharing.
- Generate a transcript with a video to text tool so the content is searchable.
- Create a short recap with a video summarizer for people who won't watch the whole thing.
- Add captions if you are posting publicly; they boost accessibility and watch time.
- Store the original in Drive and share links instead of attachments.
Screen recording on a Chromebook takes one keyboard shortcut and zero installs. Master Shift + Ctrl + Show Windows, know where your WEBM files land, and pair recordings with AI transcription so the information inside them is never trapped in video.