Every MacBook ships with everything you need to record audio: surprisingly good built-in microphones, multiple free recording apps, and support for any USB or Bluetooth mic you plug in. Whether you're capturing a lecture, recording a podcast, saving a song idea, or grabbing audio from a video call, there's a built-in method that fits.
The catch is that Apple spreads the functionality across several apps — Voice Memos for quick capture, QuickTime for flexible recordings, GarageBand for music — and hides one capability (recording the Mac's own system audio) behind an extra step that trips up almost everyone.
This guide walks through all five methods, explains which to use when, and covers the step most guides forget: turning your finished recording into searchable text with an audio to text converter.
Method 1: Voice Memos — The Fastest Way to Record
Voice Memos is the same app as on iPhone, and it's the right choice for 80% of everyday recording: meetings, lectures, ideas, interviews.
- Open Voice Memos (Spotlight: press Command + Space and type "Voice Memos").
- Click the red Record button. Recording starts instantly.
- Click Done when finished — the recording saves automatically.
- Rename it by clicking the title, or trim it with Edit > Trim.
- iCloud sync: Recordings appear on your iPhone and iPad automatically — record on the Mac, listen anywhere.
- Enhanced recording: Newer macOS versions include an Enhance option that reduces background noise with one click.
- Sharing: Right-click any memo to share or drag it straight to a folder as an M4A file.
Method 2: QuickTime Player — More Control, Still Free
QuickTime's audio recorder adds what Voice Memos lacks: microphone selection and quality settings, plus the ability to see input levels before you commit.
- Open QuickTime Player, then choose File > New Audio Recording.
- Click the small arrow next to the record button to pick your microphone and quality (choose Maximum for anything you might edit later).
- Watch the level meter while speaking — aim for movement into the upper-middle range without hitting the far end.
- Click Record, then Stop, then File > Save.
QuickTime saves M4A files. If a client or tool needs another format, an online audio converter converts M4A to MP3 or WAV in the browser.
Method 3: Record System Audio (What's Playing on Your Mac)
Here's the one that stumps everyone: neither Voice Memos nor QuickTime can record the Mac's own output — the audio from a video, stream, or call — out of the box. macOS deliberately separates microphone capture from system audio. Your options:
- macOS Screen Capture (Sequoia and later): Press Shift + Command + 5; recent macOS versions let screen recordings include system audio via the recorder's options, capturing app audio with the video.
- Virtual audio driver (free): Install BlackHole, set it as output in a Multi-Output Device (Audio MIDI Setup), and QuickTime can then record system sound — the classic podcaster's setup.
- Third-party recorders: Apps like Audio Hijack capture any app's audio with per-app control; paid but powerful for regular use.
- Permissions and etiquette: Only record calls and meetings with consent — laws in many U.S. states require it.
Record, Transcribe, and Summarize in One Step
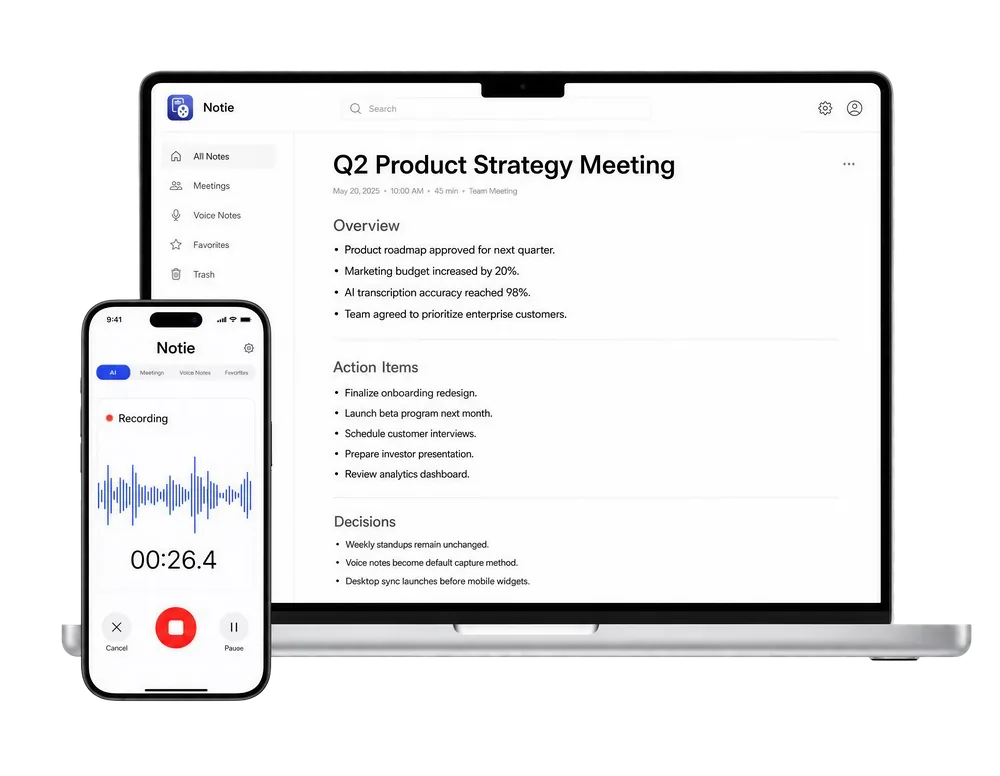
Recording the meeting is half the job — Notie finishes it. Capture audio on your phone alongside your Mac, and get an accurate transcript plus an AI summary with action items the moment you stop recording. Free on iOS and Android.
Start for FreeMethod 4: GarageBand — For Music and Multitrack Projects
When quality and editing matter — music, polished podcasts, voiceovers — GarageBand (free on every Mac) is the step up. Create an Empty Project, choose the Audio (microphone) track type, arm the track, and record. You get multitrack layering, noise gates, compression, EQ, and per-track editing. Export via Share > Export Song to Disk as MP3 or AAC. The learning curve is real but gentle, and it's the last free tool most podcasters need before jumping to paid software like Logic Pro or editors like Descript.
Method 5: Dictation and Voice-to-Text — When You Want Words, Not Audio
Sometimes the recording is just a means to text. macOS has built-in dictation (press the Fn/microphone key twice in any text field, or enable it under System Settings > Keyboard > Dictation) that types as you speak. It's solid for short bursts. For longer material — recorded meetings, interviews, lectures — dictation isn't built for playback transcription; instead, run the audio file through a voice-to-text tool or record with an app that transcribes natively. Notie, for example, provides AI transcription with speaker-aware transcripts and summaries, which beats replaying a 60-minute M4A hunting for one quote.
Which Method Should You Use?
| Method | Best For | System Audio | Output | Difficulty |
|---|---|---|---|---|
| Voice Memos | Quick memos, lectures, meetings | No | M4A, iCloud sync | Easiest |
| QuickTime | Interviews, quality-controlled takes | No (without BlackHole) | M4A | Easy |
| Screen Capture (Shift+Cmd+5) | Tutorials, calls with video | Yes (recent macOS) | MOV video | Easy |
| GarageBand | Music, podcasts, voiceover | Via routing | MP3/AAC/WAV | Moderate |
| Notie (phone alongside) | Meetings you need transcribed | Records the room | Transcript + summary | Easiest |
Quick Tips for Better Mac Recordings
- Mind the mic placement. The MacBook's mics sit near the keyboard hinge — typing while recording produces loud clacks. Use an external mic for anything serious.
- Kill the noise first. Close windows, silence notifications (Focus mode), and quit apps with alert sounds before long recordings.
- Check levels for 10 seconds before the real take; distorted audio can't be fixed afterward.
- Big files? Compress smartly. Long WAV recordings get huge — an audio compressor shrinks files while keeping speech clear.
- Grant permissions once. If an app records silence, check System Settings > Privacy & Security > Microphone.
After the Recording: Make It Useful
A recording you never revisit is a filing cabinet with no labels. Get in the habit of processing audio right after capture: transcribe it with an MP3 to text converter (or straight from M4A), summarize long sessions, and file the text where you'll search for it. For recurring needs — weekly meetings, classes, interviews — recording with Notie on your phone in parallel means the transcript and summary are done before your MacBook file even finishes uploading anywhere. Record once, and let AI handle the remembering.